Installing an iOS Mobile App Distributed with Firebase
This is a tutorial for how to install an iOS mobile app distributed via Firebase onto your iOS device.
Step 1: Email Invite
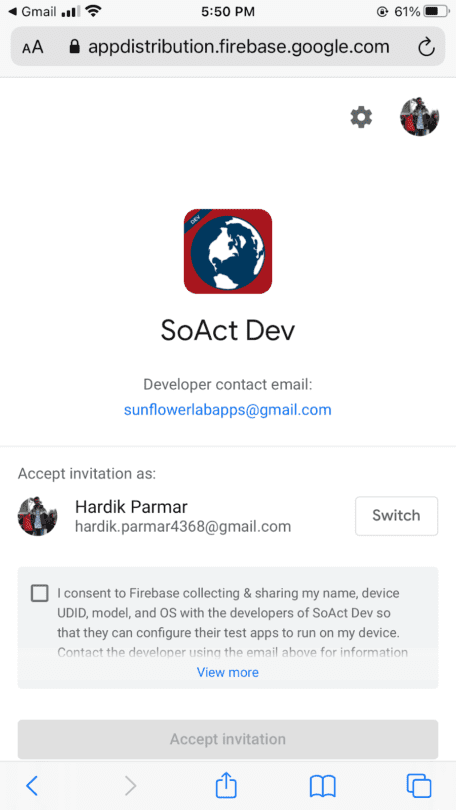
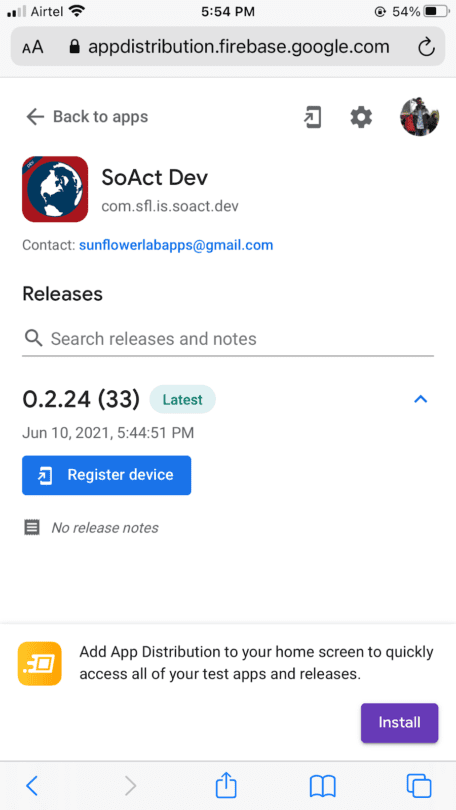
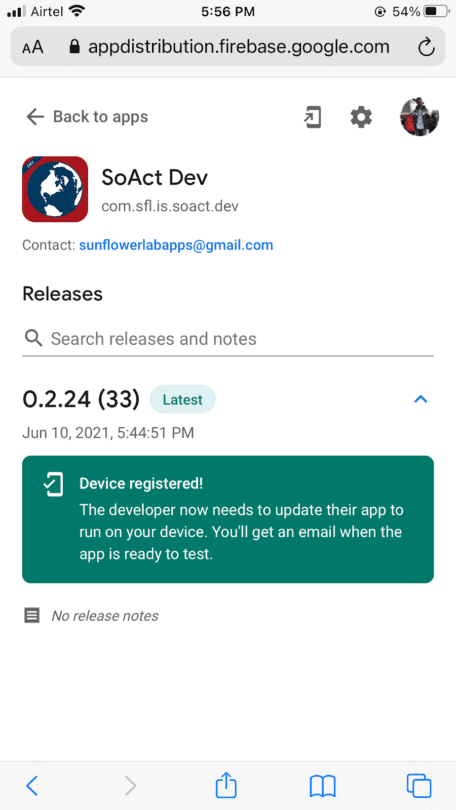
In Firebase, the administrator of the iOS mobile app will add your email address to the release of the mobile app. After you’re added to the release, an email will be sent by Firebase to the provisioned email address. You will want to open this email on the iOS device that you’re going to test on. When you click on the link within the email, you will be taken to a page that looks like the first screenshot below. After you accept the invitation, you will be taken to the second screenshot, where you’ll be prompted to “Register device”. On iOS, the “Register device” functionality will send your UDID to Firebase so the release will work on your device.
Step 2: Registering the iOS Device
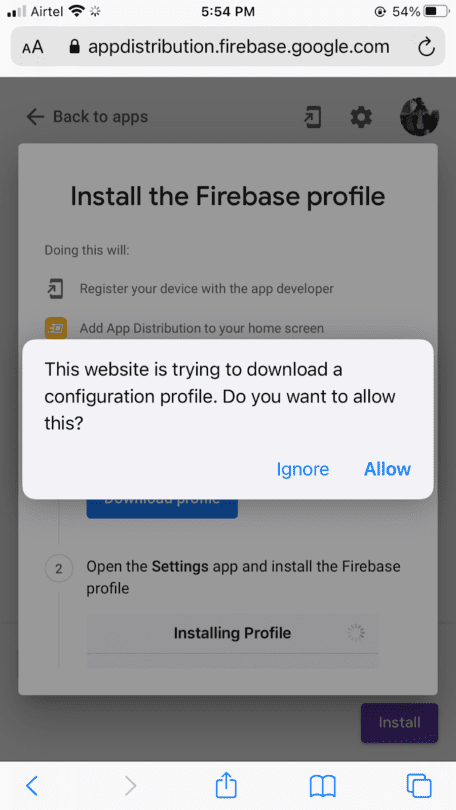
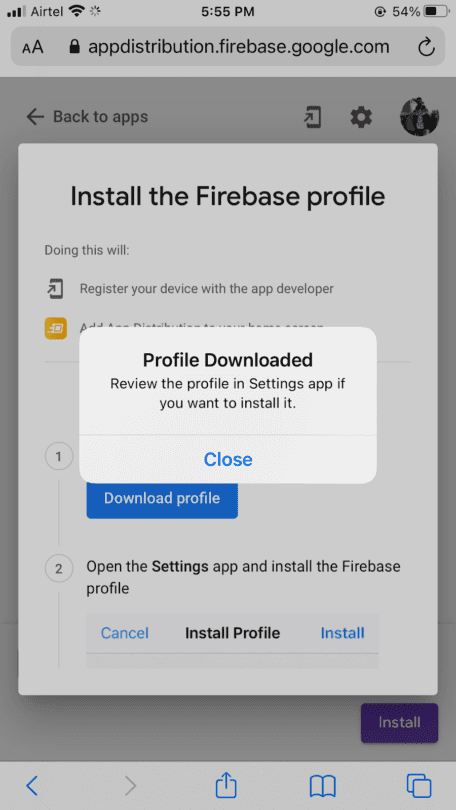
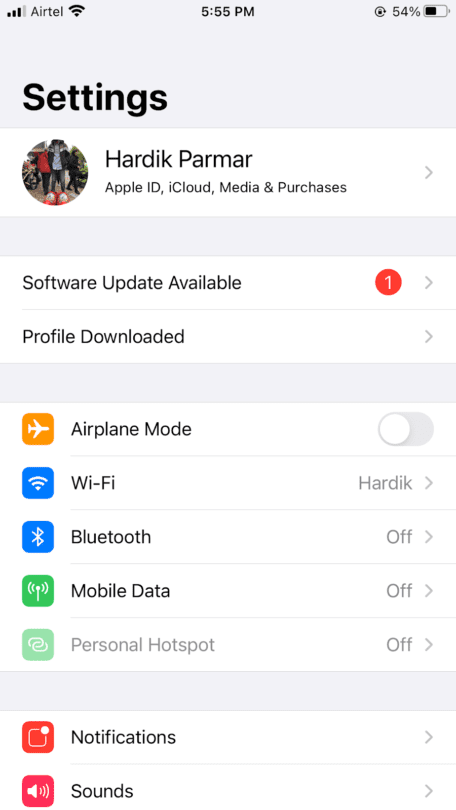
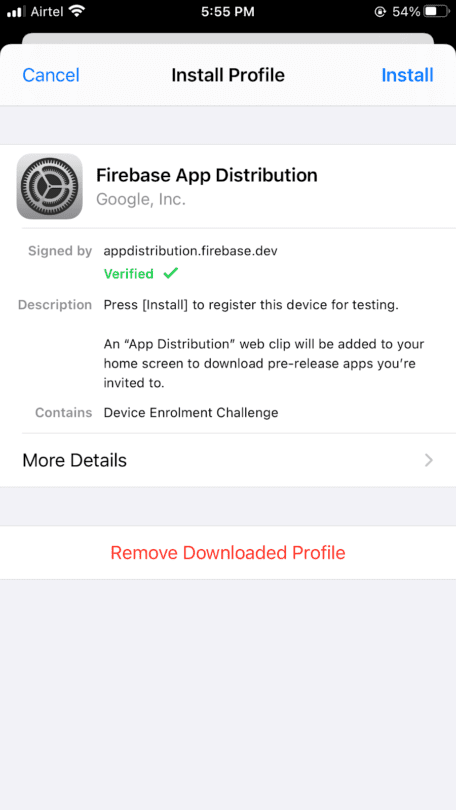
If this is the first time this device has tested this mobile app, the user will need to set up a profile on their device. The email will provide a Firebase profile to download. You will need to Allow this configuration profile to be installed by following the screenshots below. In the first screen shot, the user “Allow”s the profile to be downloaded. Upon completion of the download, the user will need to visit the Settings page to install the the profile. The profile is not permanent and can be removed at the user’s own volition.
Step 3: Application Installation
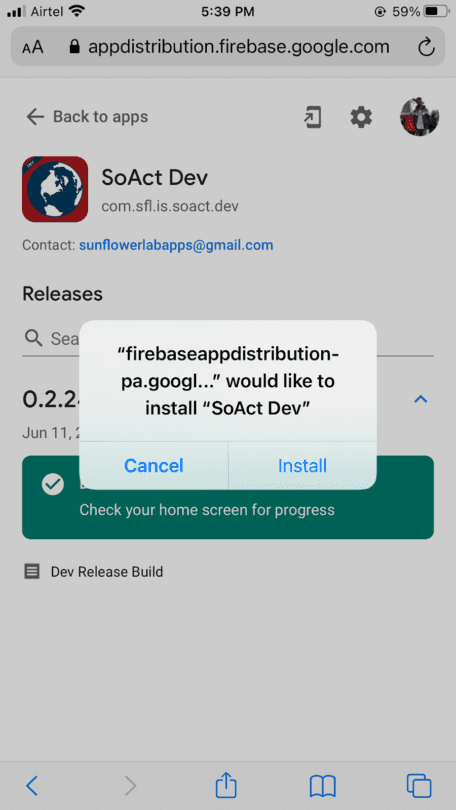
Now that the profile is installed and the device is registered, the user can return to the email and accept the installation. Like any device from the App Store, it will immediately appear on the device homepage and need some time to download all the contents. There will be a couple more prompts once the test application is booted up for the first time.

