Download list of all AWS Services PDF
Download our free PDF list of all AWS services. In this list, you will get all of the AWS services in a PDF file that contains descriptions and links on how to get started.
How to Export Images in Google Slides
This article goes through the steps to save and export both custom and pre-imported images in Google Slides, which can be relatively problematic. We found a few workarounds that will help you solve these issues without having to screenshot the images and compromise precious photo quality.
- Saving Custom Designs in Google Slides as Vectors
- Saving Pre-Imported Images
Saving Custom Designs in Google Slides as Vectors
If you created a custom design element in your Google Slides project and want to export it, follow the steps below.
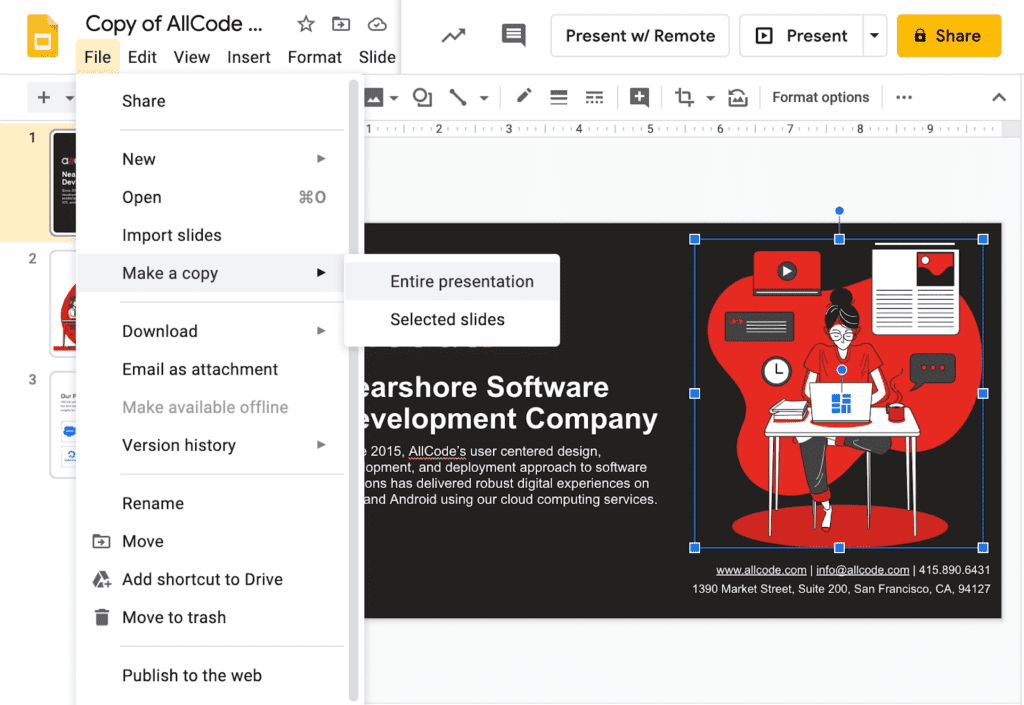
1. Navigate to your project and duplicate it
Find and open the project that you wish to extract the graphics from and make a copy, choosing to copy the entire presentation or only selected slides. By duplicating your project, you won’t worry about disturbing your original version.
2. Create a blank slide for your images
Insert a new slide and place it at the top of your other slides. This slide will hold all of the images that will be exported to avoid confusion about already-exported graphics.

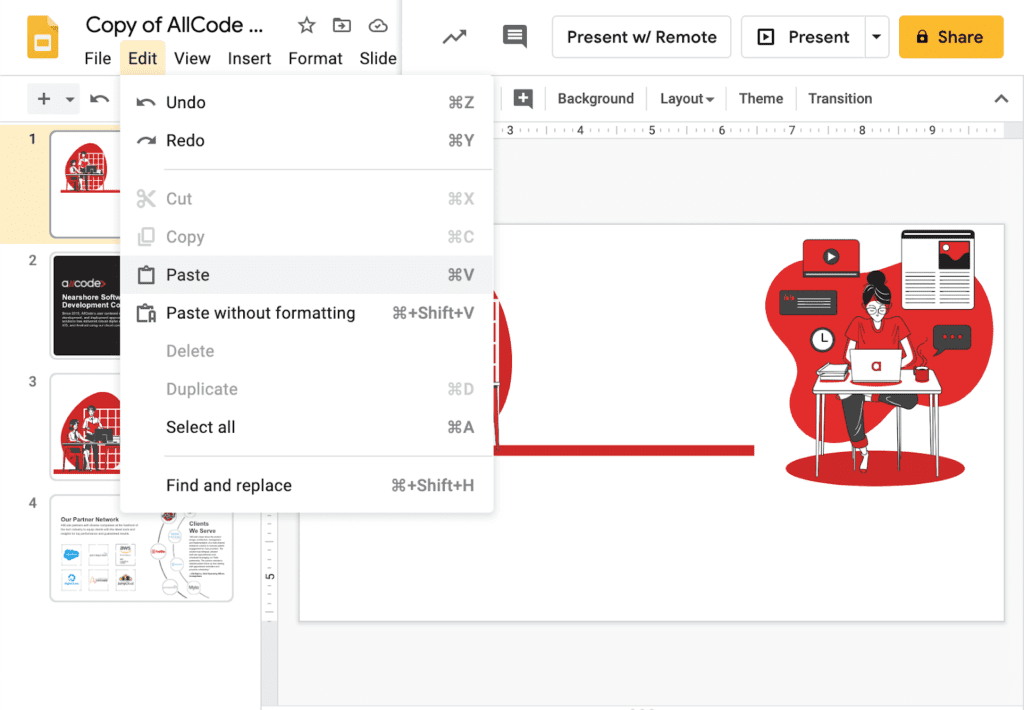
3. Transfer designs to the blank slide
Copy and paste all of the graphics that you wish to export to the blank slide.
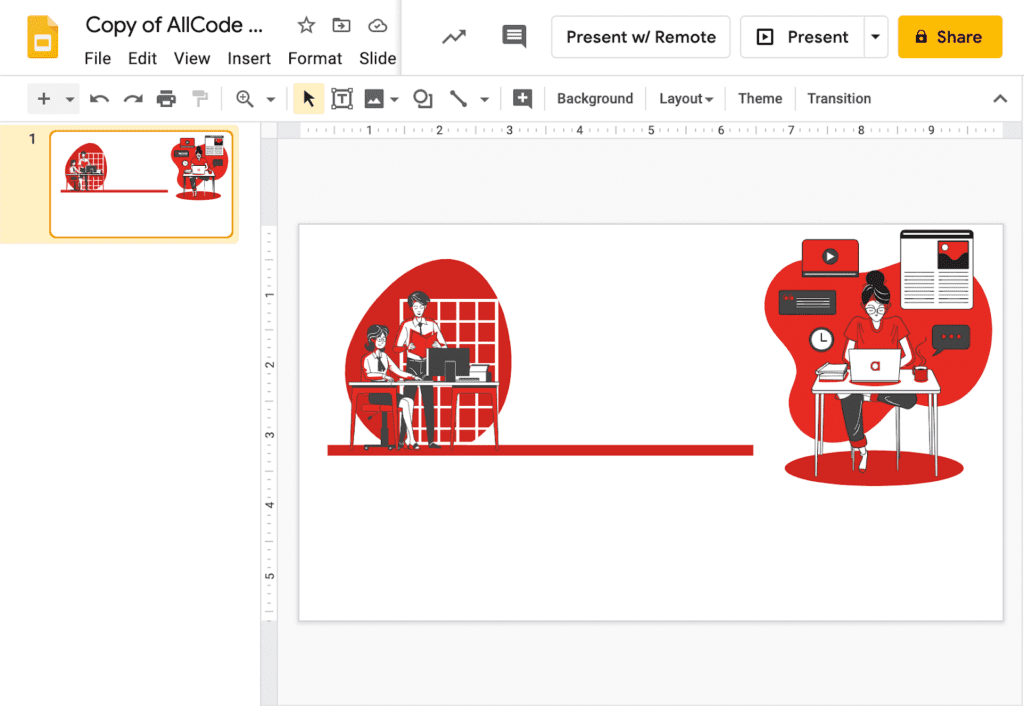
4. Delete extra content
Delete the extra content and slides that you don’t want to export so that there is only one slide. By having only one slide, you can reduce the file size that is exported, allowing you to preserve valuable space on your computer.
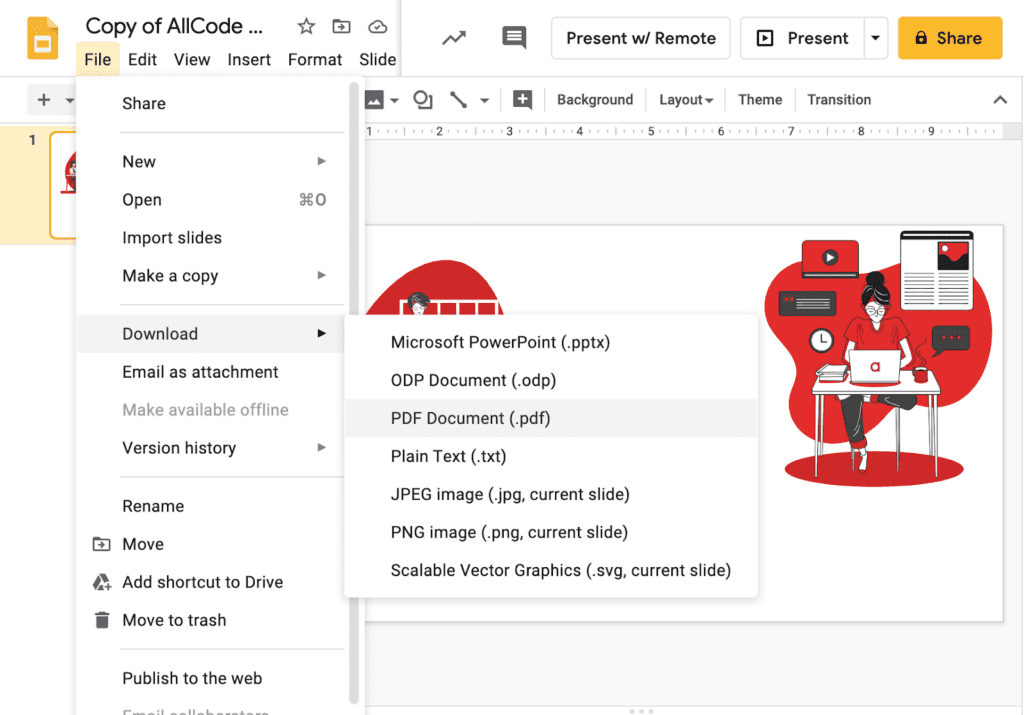
5. Export as PDF
Click File, hover over Download, and select PDF Document (.pdf) to download your file.
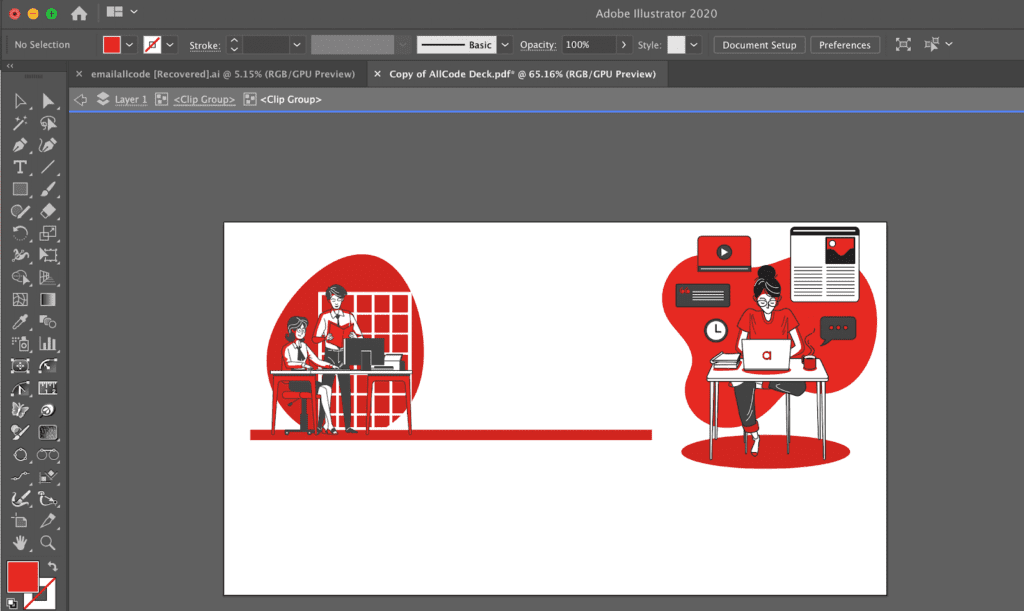
6. Open PDF in Adobe Illustrator
Open your PDF inside of Adobe Illustrator and start customizing your graphics or transfer to other graphic design tools.
You’re good to go!
Saving Pre-Imported Images
If you need to save an image that wasn’t constructed inside of Google Slides (png, jpeg, etc.), follow these steps.
1. Open up your project
Open up your project and locate the image that you wish to save.

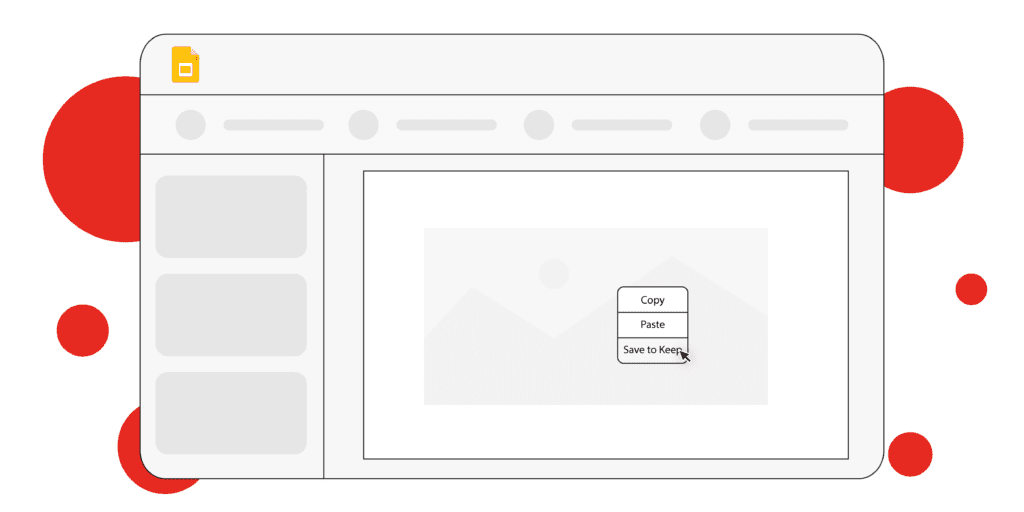
2. Click on the image and select “Save to Keep”
Select and right-click the desired image, and choose the option titled “Save to Keep.”

3. Right-click image in the sidebar and select “Save Image As…”
A sidebar will pop-up on the screen’s right side; right-click the image and select the option Save Image As…


